


Essential Residential Painting Steps for a Flawless Interior Finish

Painting the interior of your home can be a rewarding project that transforms your living space. However, achieving a flawless finish requires more than just picking a color and rolling paint on the walls. Over the years, I have learned that following a clear set of residential painting steps ensures a professional look and long-lasting results. Whether you are refreshing a single room or tackling your entire home, these steps will guide you through the process smoothly.
Key Residential Painting Steps to Prepare and Paint Your Walls
Preparation is the foundation of any successful painting project. Skipping or rushing through this phase often leads to uneven coverage, peeling, or premature wear. Here’s how I approach it:
Clear the Room and Protect Surfaces
Remove as much furniture as possible. For larger pieces that can’t be moved, cover them with drop cloths. Also, protect floors with canvas or plastic sheeting to catch drips and spills.
Clean the Walls
Dust, dirt, and grease can prevent paint from adhering properly. I use a mild detergent solution and a sponge to wipe down all surfaces. For kitchens or bathrooms, a stronger cleaner may be necessary to remove oils or mildew.
Repair Imperfections
Inspect walls for holes, cracks, or dents. Use spackling compound or joint compound to fill these areas. After drying, sand smooth with fine-grit sandpaper. This step is crucial for a smooth, professional finish.
Tape Off Trim and Fixtures
Use painter’s tape to mask off baseboards, window frames, door frames, and any hardware you don’t want painted. This keeps edges crisp and clean.
Prime the Walls
Priming is especially important if you are painting over a dark color, stained surfaces, or new drywall. Primer seals the surface and improves paint adhesion, helping the final coat look even and vibrant.

Choosing the Right Paint and Tools for Your Project
Selecting the right paint and tools can make a big difference in the ease of application and the final appearance.
Paint Type: For most interior walls, I recommend an acrylic latex paint. It dries quickly, cleans up with water, and offers good durability. For high-traffic areas or kitchens, consider a satin or semi-gloss finish for easier cleaning.
Color Selection: Test paint samples on your walls before committing. Observe how the color looks at different times of day and under various lighting conditions.
Tools: Invest in quality brushes and rollers. A 3/8-inch nap roller works well for smooth walls, while a thicker nap is better for textured surfaces. Angled brushes help with cutting in around edges.
Paint Tray and Extension Poles: These make the job more efficient and comfortable, especially when painting ceilings or high walls.
What is the average cost to have a 12x12 room painted?
Understanding the cost involved helps you budget effectively. For a standard 12x12 room with 8-foot ceilings, the average cost to have it professionally painted typically ranges from $300 to $800. This estimate includes:
Labor for preparation, painting, and cleanup
Materials such as paint, primer, tape, and drop cloths
Minor repairs like filling holes or sanding
Factors that influence the price include the quality of paint chosen, the number of coats required, wall condition, and whether ceilings or trim are included. If you decide to do the work yourself, you can save on labor but should still budget for supplies and your time.
Step-by-Step Painting Process for a Smooth Finish
Once the prep work is done and you have your materials ready, it’s time to paint. Here’s the sequence I follow to ensure a flawless finish:
Cut In the Edges
Using an angled brush, paint a 2-3 inch border around the ceiling, baseboards, windows, and doors. This “cutting in” creates a clean edge and makes rolling easier.
Roll the Walls
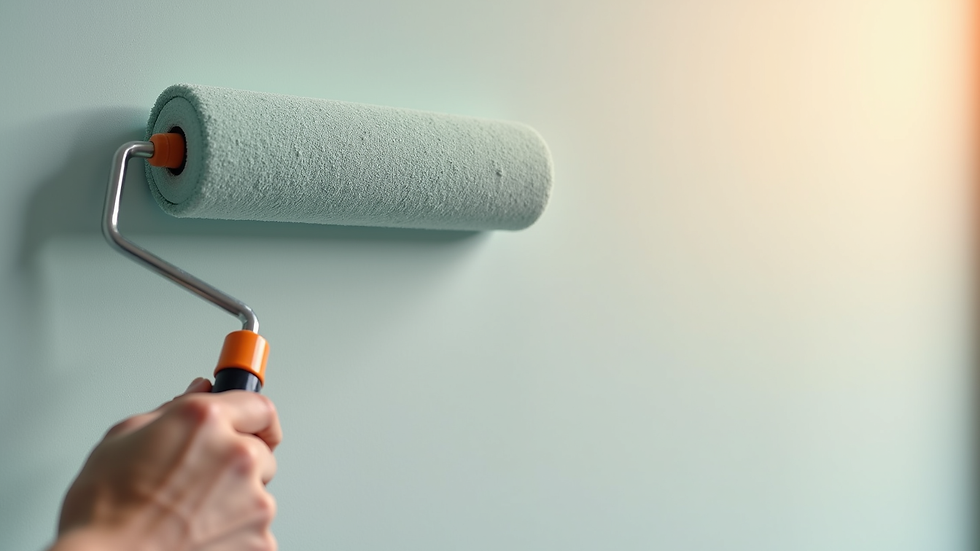
Load your roller with paint and apply it in a “W” or “M” pattern to distribute paint evenly. Then fill in the gaps with vertical strokes. Work in small sections to keep a wet edge and avoid lap marks.
Apply Multiple Coats
Most walls require two coats for full coverage and color depth. Allow the first coat to dry completely before applying the second.
Paint Trim and Doors
After walls are dry, paint the trim and doors if they are part of your project. Use a smaller brush for precision.
Clean Up
Remove painter’s tape while the paint is still slightly tacky to avoid peeling. Clean brushes and rollers promptly with water or the appropriate solvent.
Tips for Maintaining Your Newly Painted Walls
A fresh paint job looks great, but maintaining it will keep your home looking beautiful for years.
Regular Cleaning: Dust walls with a soft cloth or vacuum with a brush attachment. For stains, use a mild soap solution and a sponge.
Touch-Ups: Keep leftover paint for touch-ups. Small chips or scuffs can be fixed quickly without repainting the entire wall.
Avoid Excess Moisture: Bathrooms and kitchens are prone to humidity. Use exhaust fans and dehumidifiers to prevent paint from peeling or developing mold.
Furniture Placement: Avoid pushing furniture directly against walls to prevent scratches and dents.
By following these residential painting steps carefully, you can achieve a professional-quality finish that enhances your home’s beauty and value. If you want to learn more about residential interior painting, feel free to explore trusted local services that specialize in delivering exceptional results.
Final Thoughts on Achieving a Flawless Interior Paint Job
Painting your home’s interior is a project that requires patience, attention to detail, and the right approach. By preparing thoroughly, choosing quality materials, and following a systematic painting process, you can enjoy a stunning transformation that lasts. Remember, the key to success lies in the details - from taping edges to applying even coats and maintaining your walls afterward.
Whether you tackle the job yourself or hire professionals, these residential painting steps will help you achieve the flawless finish you desire. Happy painting!


Comments